If you’ve invested in good speakers, a solid interface, and maybe even a beautiful desk… but your mixes still don’t translate — the problem is almost never your gear.
It’s your room.
This guide will walk you step-by-step through how to treat a home studio, whether you're building a bedroom setup, a dedicated production room, or upgrading an existing space. We’ll break down home studio acoustic treatment, explain placement strategy, and clarify the difference between DIY acoustic treatment vs professional solutions.
Let’s fix your room properly.
Why Acoustic Treatment Matters More Than Expensive Gear
When sound leaves your monitors, it doesn’t travel straight into your ears and stop there. It hits walls, ceilings, floors, corners — then reflects back into the room.
Those reflections cause:
-
Comb filtering
-
Bass build-up
-
Flutter echo
-
Muddy midrange
-
Stereo image collapse
If you want to reduce echo in a recording room and improve sound clarity in your studio, treatment is non-negotiable.
And no — foam on the walls isn’t enough (we’ll explain why in a bit).
Step 1: Start With Speaker & Listening Position
Before you even think about panels, fix the layout.
-
Sit centered between left and right walls
-
Form an equilateral triangle between speakers and ears
-
Keep speakers 6–12 inches away from the front wall (or flush-mounted if designed that way)
-
Avoid sitting exactly in the center of the room lengthwise
If your position is wrong, treatment won’t save you.
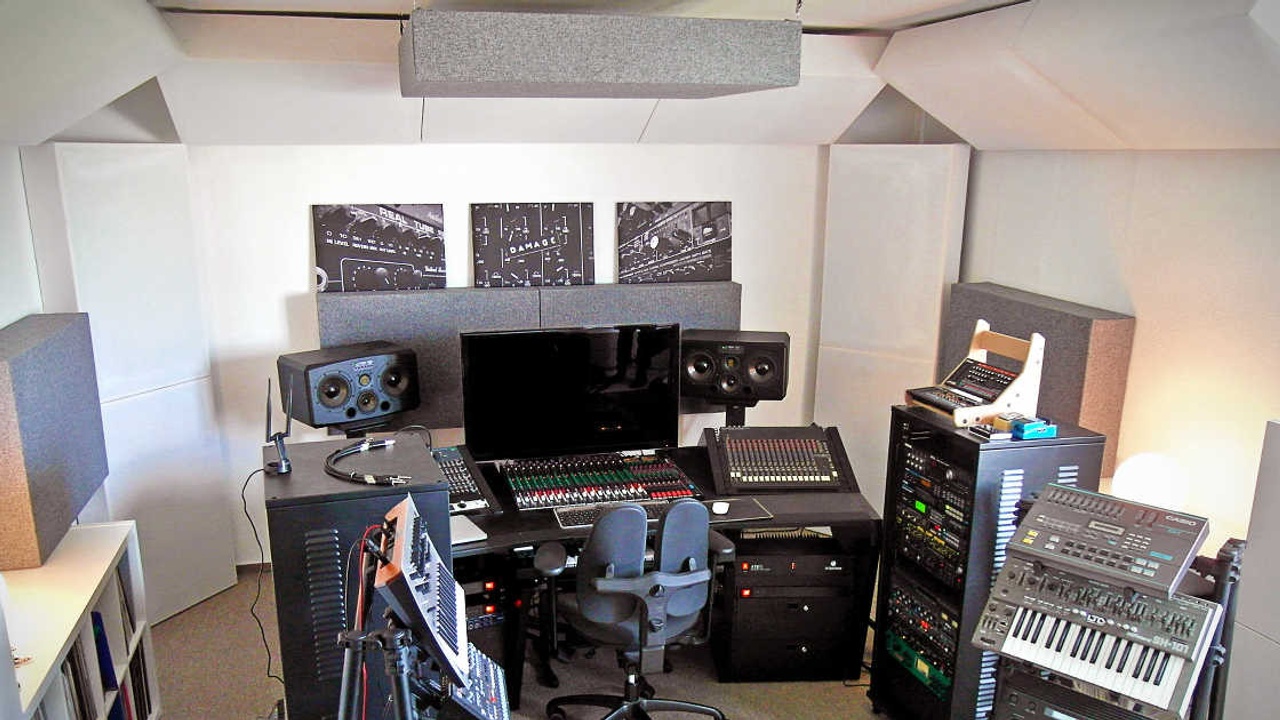
Step 2: Treat First Reflection Points (Most Important Step)
First reflection points are where sound from your speakers first hits a surface and bounces toward your ears.
These exist on:
-
Side walls
-
Ceiling
-
Sometimes the desk surface
How to Find Them (Mirror Trick)
Sit in your listening position.
Have someone slide a mirror along the side wall.
Wherever you can see your speaker in the mirror — that’s a reflection point.
Place absorption panels there.


What to Use
High-density broadband panels (not thin foam).
Professionally built wooden acoustic panels like the ones from Timber Acoustics are designed to absorb across mids and highs evenly — which helps preserve clarity instead of killing life from the room.
Internal link suggestion:
→ Link to: Broadband Acoustic Panels Product Page
→ Link to: Studio Wall Panel Collection
Step 3: Bass Trap Placement (Corners = Low Frequency Chaos)
Low frequencies are long and powerful. They accumulate in corners — especially vertical corners.
If your room sounds boomy, uneven, or inconsistent from seat to seat, that’s bass build-up.
Where To Place Bass Traps:
-
All four vertical corners (floor to ceiling ideally)
-
Front wall corners behind speakers
-
Wall-ceiling corners if possible

Thicker is better here.
This is where most DIY acoustic treatment fails — people underestimate bass. Thin foam wedges do almost nothing below 250 Hz.
Timber Acoustics bass traps are designed with dense mineral core and proper depth, which actually helps flatten the low end instead of just slightly softening it.
Internal link suggestion:
→ Link to: Studio Bass Traps
→ Link to: Corner Trap Systems
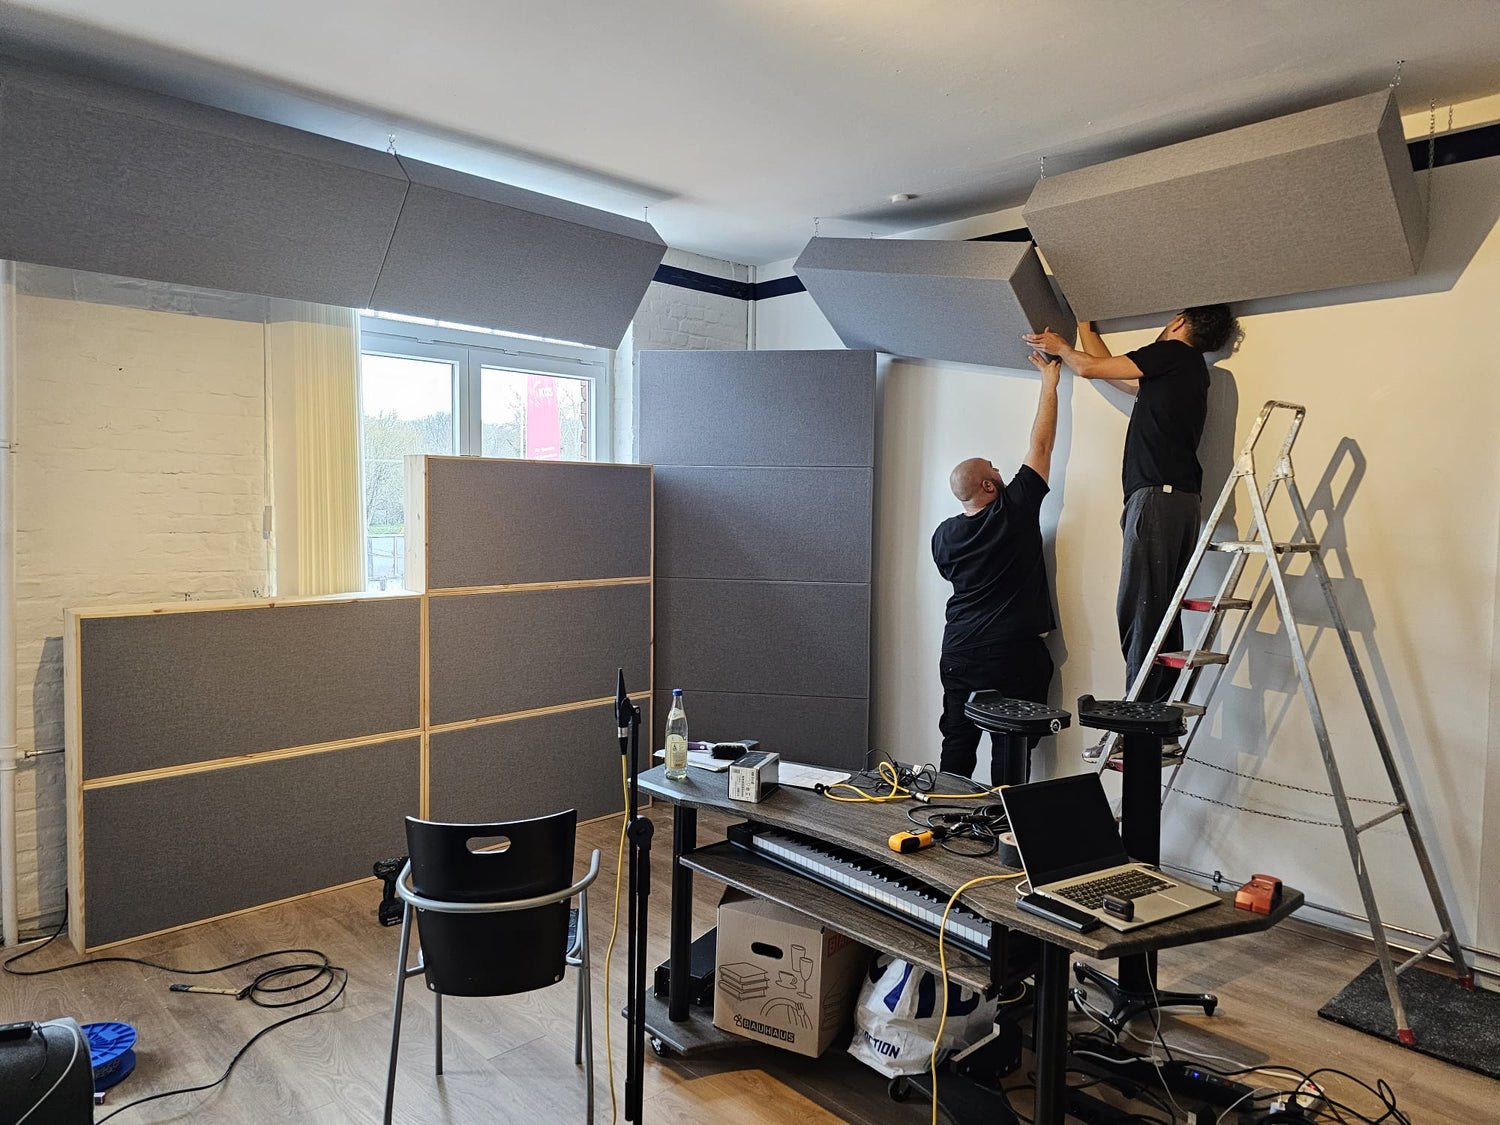
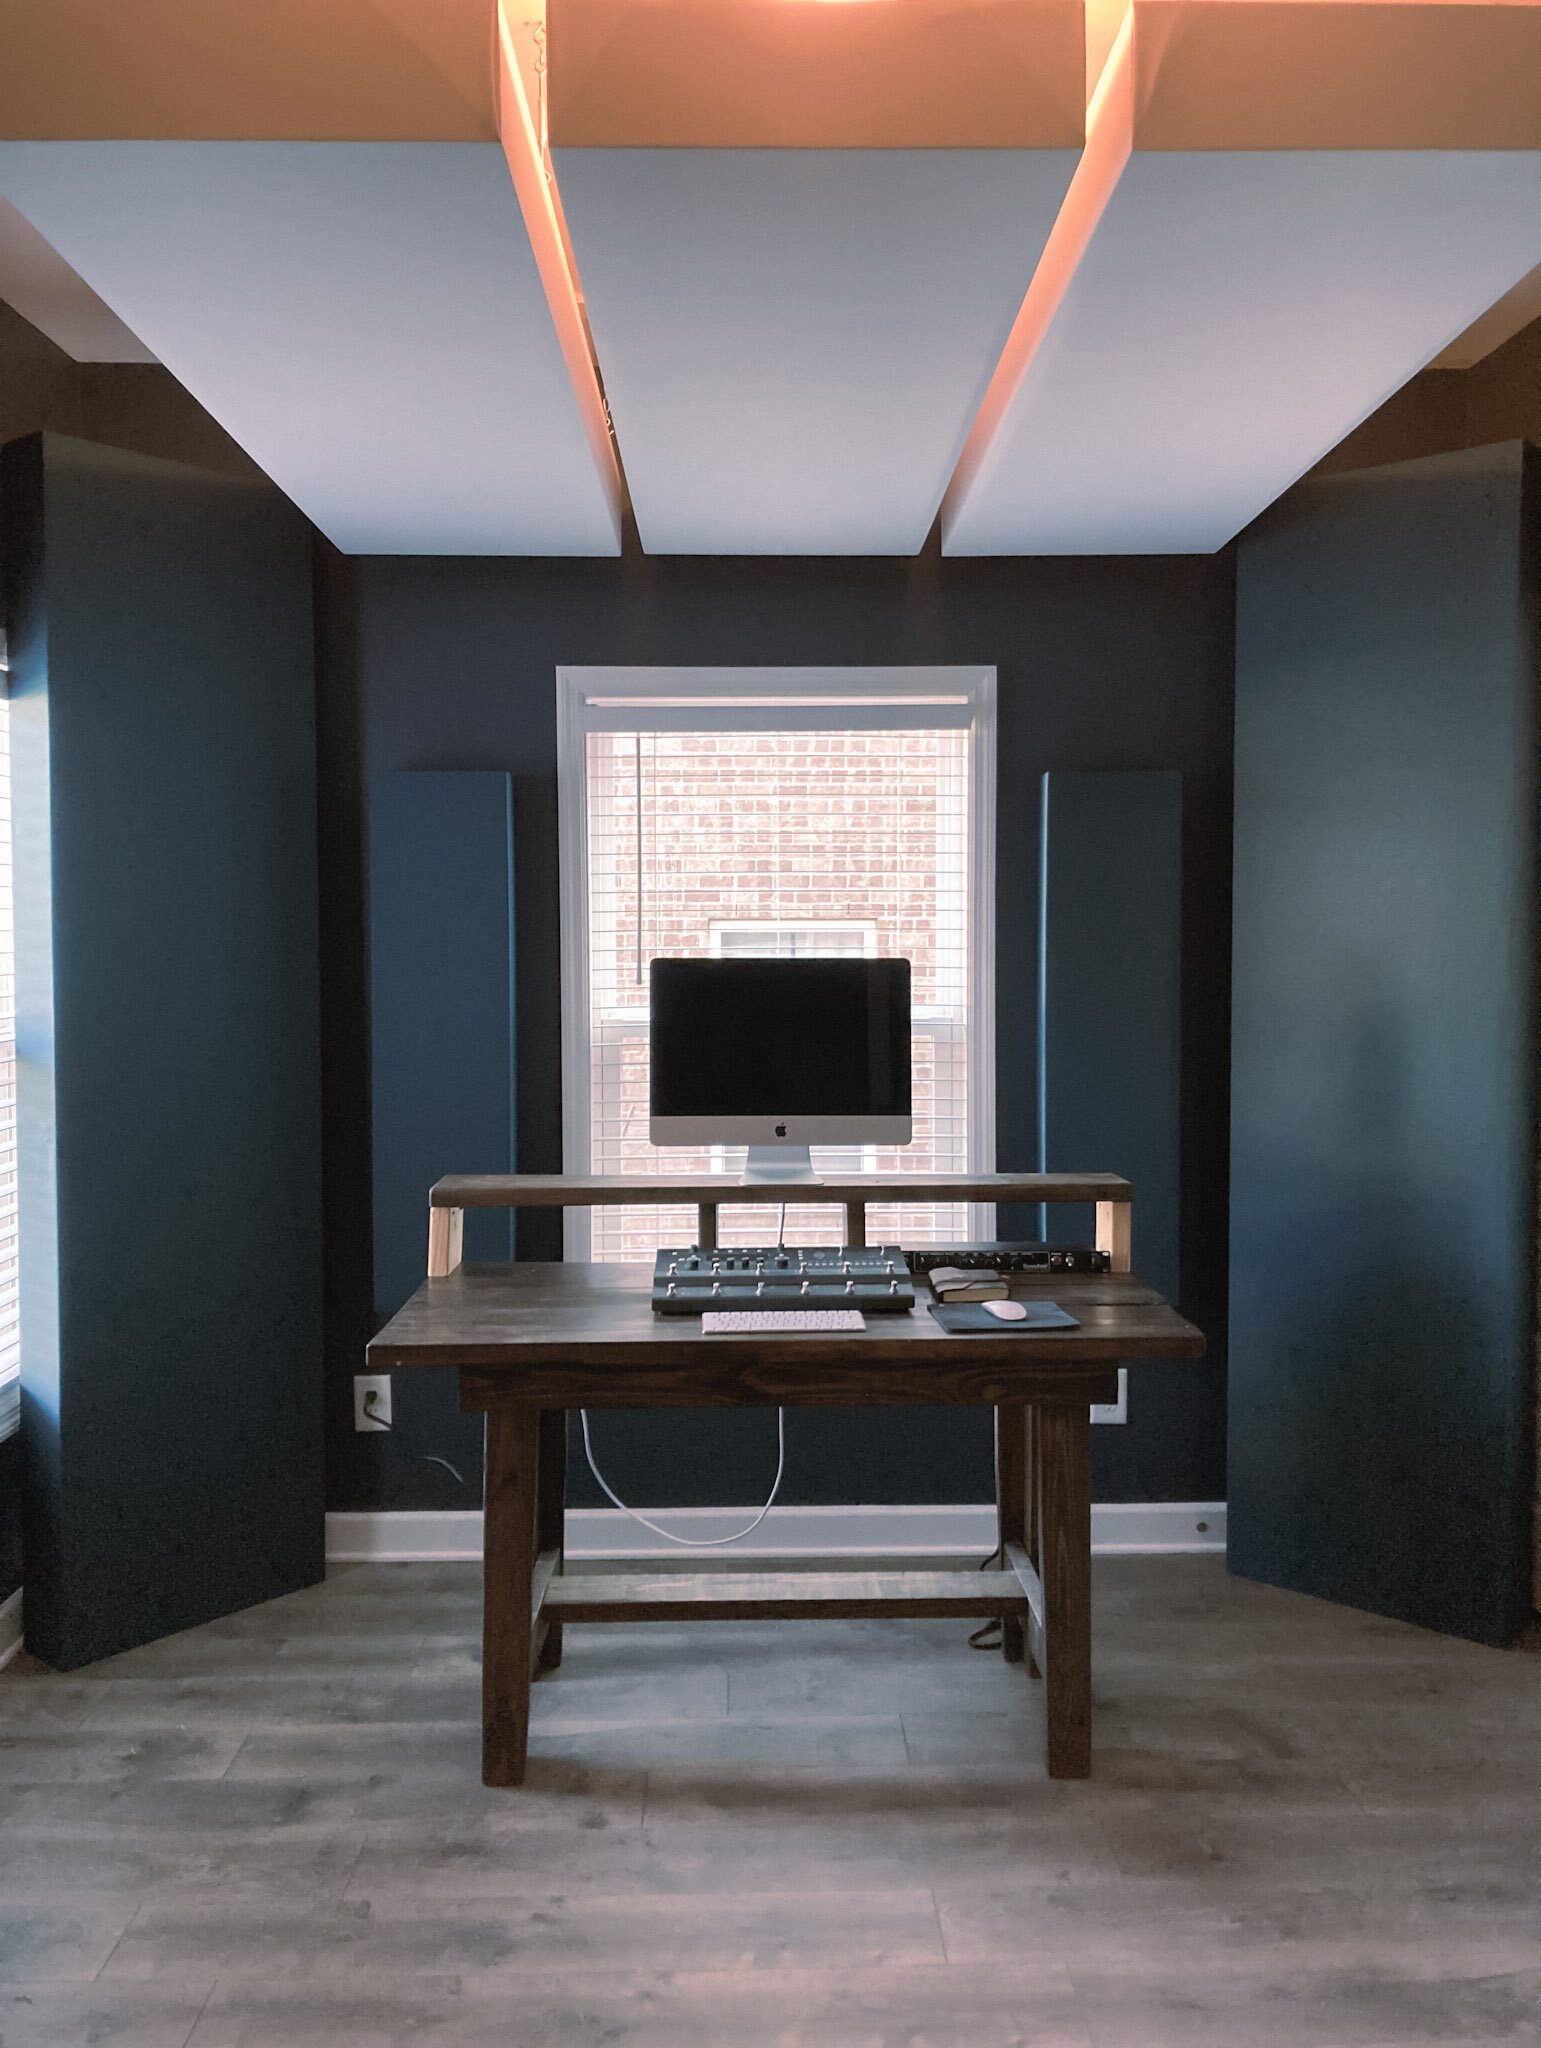
Step 4: Install a Ceiling Cloud
Your ceiling is often forgotten. It shouldn’t be.
Sound reflects vertically just as aggressively as it does horizontally.
A ceiling cloud panel above your listening position absorbs vertical reflections and tightens stereo imaging.


Mount it:
-
Centered above listening position
-
A few inches below ceiling (air gap increases effectiveness)
This single addition dramatically improves mix translation.
Internal link suggestion:
→ Link to: Ceiling Cloud Panels
→ Link to: Studio Installation Guide
Step 5: Rear Wall – Diffusers (Not More Absorption)
Here’s a mistake many musicians make:
They absorb everything.
If you over-absorb the room, it becomes lifeless and dull.
Instead, treat the rear wall with diffusion — especially in medium to large rooms.
Diffusers scatter sound instead of absorbing it. That maintains energy while preventing slapback echo.
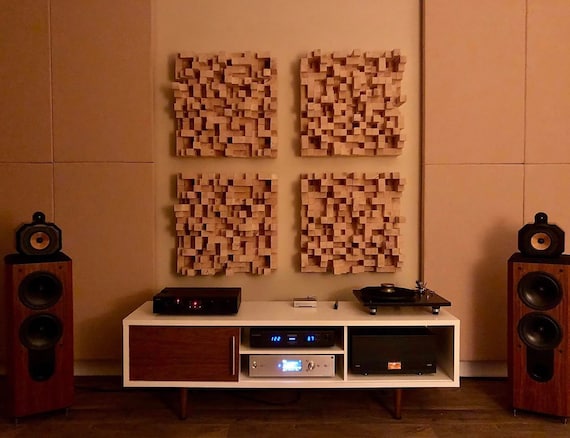
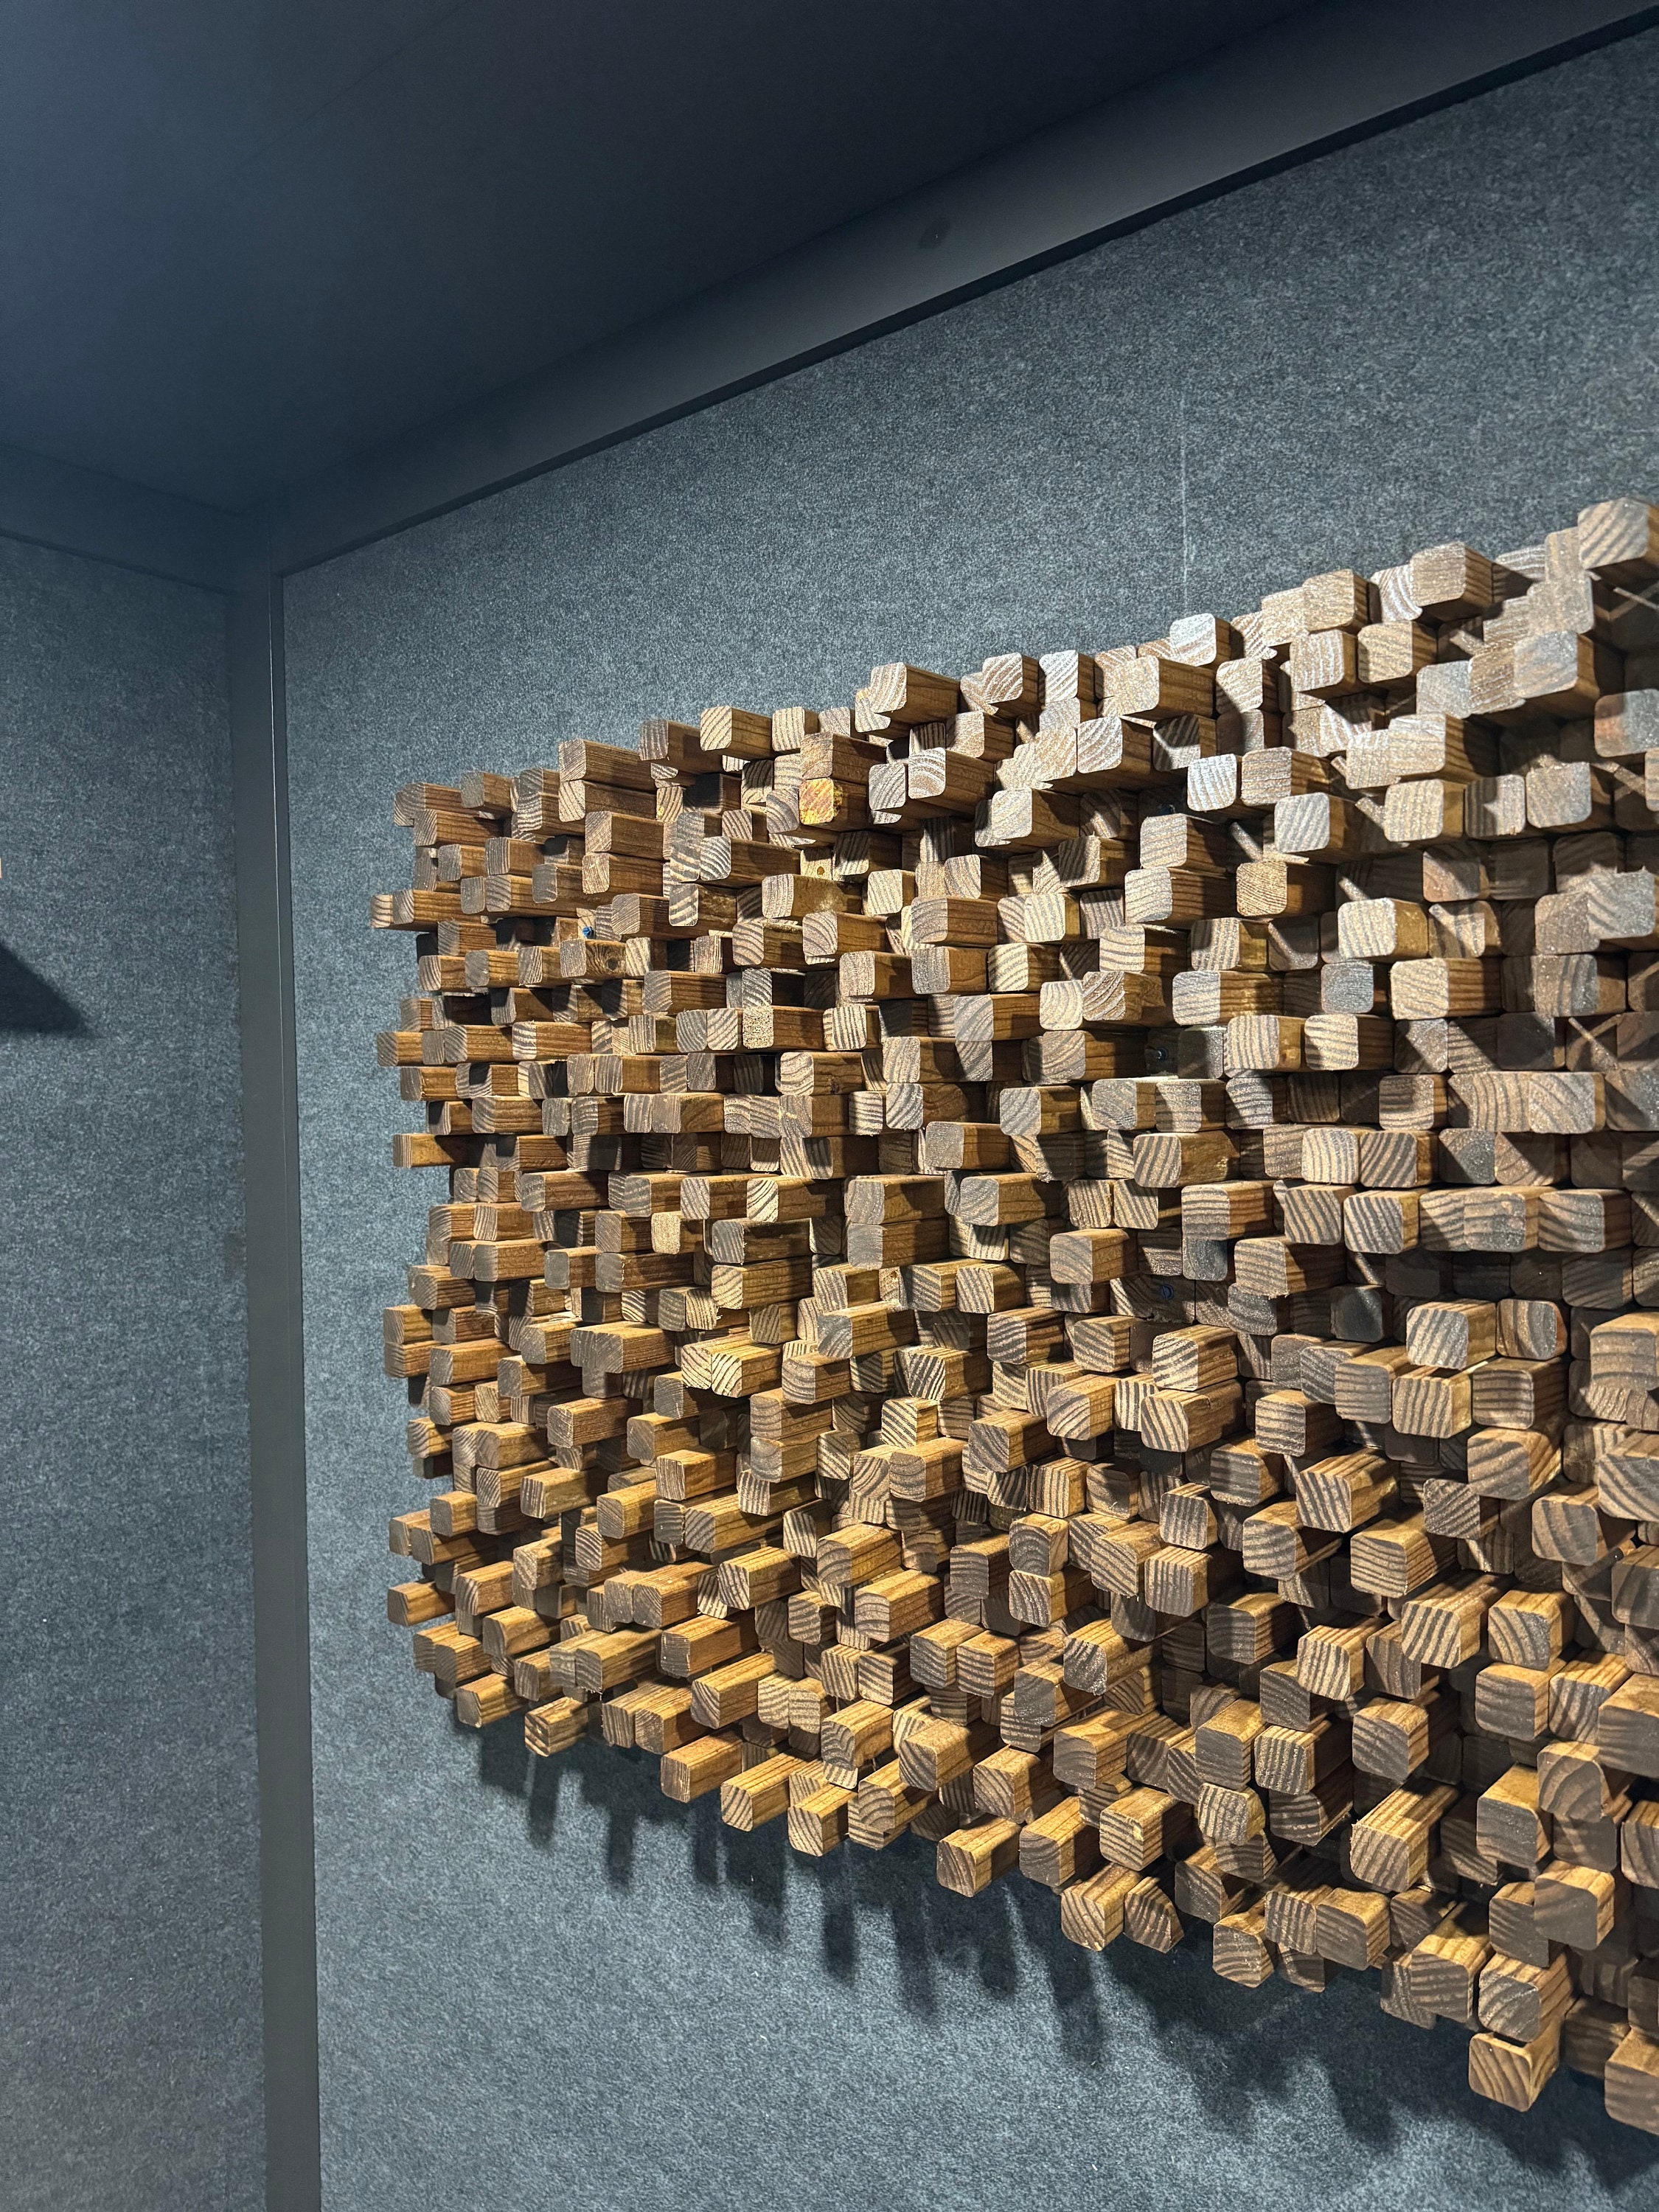
Skyline and quadratic diffusers (like those offered by Timber Acoustics) help maintain spatial depth.
Internal link suggestion:
→ Link to: Wooden Diffuser Panels
→ Link to: Skyline Diffusers Collection
Why Foam Is Not Enough
Foam:
-
Only absorbs high frequencies
-
Does almost nothing for bass
-
Breaks down over time
-
Often looks “studio-ish” but doesn’t perform like real treatment
You end up with:
-
Dead highs
-
Untouched bass
-
Unbalanced response
Real broadband panels use thicker core material (50–100mm+) and are framed to improve airflow and absorption range.
That’s why professional rooms don’t use pyramid foam.
DIY Acoustic Treatment vs Professional Solutions
DIY Can Work If:
-
You understand absorption coefficients
-
You use mineral wool or rockwool
-
You build thick enough panels
-
You measure the room properly
DIY Fails When:
-
You rely on Amazon foam packs
-
Panels are too thin
-
You ignore bass trapping
-
You guess placement
Professional systems (like Timber Acoustics) are engineered for:
-
Balanced absorption
-
Aesthetic integration
-
Long-term durability
-
Predictable acoustic performance
If you’re serious about production quality, this matters.
Before & After: What Changes Sonically?
Before treatment:
-
Bass feels loud in one spot, disappears in another
-
Vocals sound boxy
-
Reverb tails blur
-
Stereo image feels vague
-
You second-guess every mix
After proper acoustic treatment:
-
Bass tightens
-
Transients feel sharper
-
Panning becomes obvious
-
Reverb tails become clearer
-
Mix decisions become faster
You’ll notice clarity. Not necessarily “quieter”. Just more controlled.
And oddly enough, you’ll trust your ears more.
Common Mistakes Musicians Make
-
Treating only one wall
-
Ignoring corners
-
Over-treating highs
-
Not measuring or testing
-
Treating without fixing layout first
-
Buying based on aesthetics instead of performance
It’s easy to waste money doing it wrong.
Simple Treatment Formula for Most Home Studios
If you want a basic blueprint:
-
4–8 broadband panels (side walls + front wall)
-
4 bass traps (minimum)
-
1 ceiling cloud
-
2–4 diffusers (rear wall)
That alone solves 80% of home studio issues.
For a full room acoustic treatment guide tailored to your space, professional consultation helps optimize panel quantity and placement.
Final Thoughts
Learning how to treat a home studio isn’t about covering every surface. It’s about balance.
Absorption where needed.
Bass control in corners.
Diffusion at the rear.
Reflection control at the sides and ceiling.
That’s how you truly improve sound clarity in a studio.
And once your room is controlled, your mixes finally start translating outside your space — car speakers, headphones, clubs, streaming platforms.
If you’re building a serious listening or recording environment, explore professionally engineered solutions from Timber Acoustics — designed for musicians, producers, and critical listening spaces worldwide.
Your room is an instrument.
Treat it properly.